Wednesday, February 27, 2013

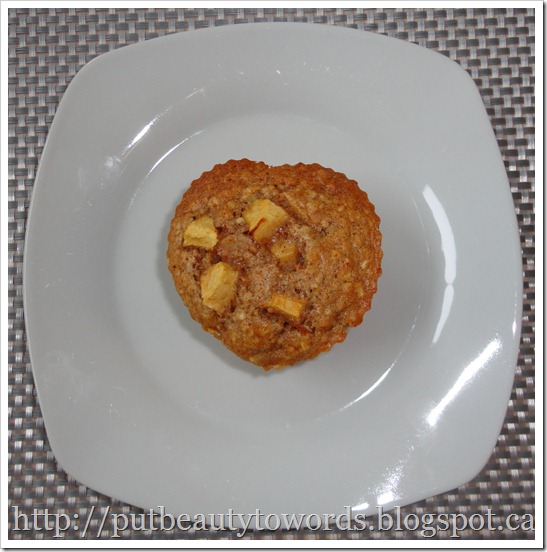
Easy Apple Cinnamon Oatmeal Muffins


These muffins are super easy to make and they are a delicious way to combine oatmeal, apples, and cinnamon. Not to mention, I like to think that they are healthier than the average sugary dessert!

Recipe

Ingredients
2 2/3 cups oatmeal muffin mix (I used Quaker low fat oatmeal muffin mix)
1 cup water
1 apple, peeled and chopped into small pieces (I used a Gala apple).
1 tbsp cinnamon

Directions
1. Preheat oven to 400 degrees.
2. Prepare muffin tins or silicone muffin cups with a light coating of cooking spray (I used heart-shaped silicone muffin cups).
3. In a medium bowl, combine muffin mix, cinnamon, and water. Mix well.
4. Set aside 1/8 cup of chopped apple, and then add the remaining apple to the oatmeal mix. Mix until combined.
5. Spoon mix into muffin tins.
6. Sprinkle the 1/8 cup of chopped apples on top of the muffins before placing them in the oven.
7. Bake muffins for 20 minutes or until golden brown.

Makes 12 muffins

Tuesday, February 26, 2013

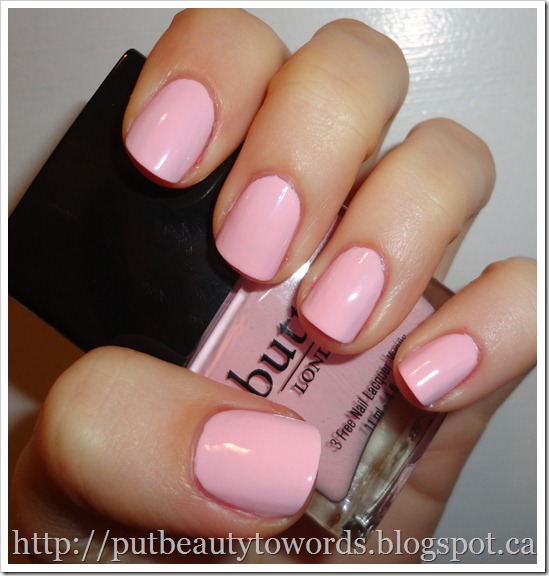
NOTD: Butter London Teddy Girl


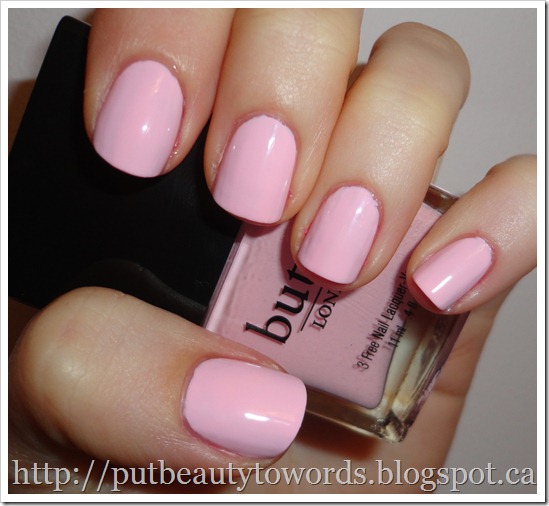
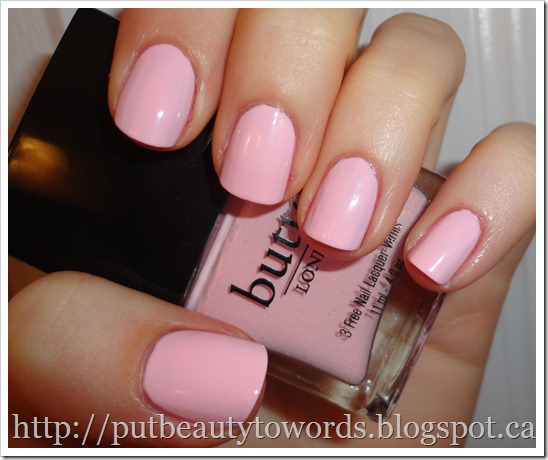
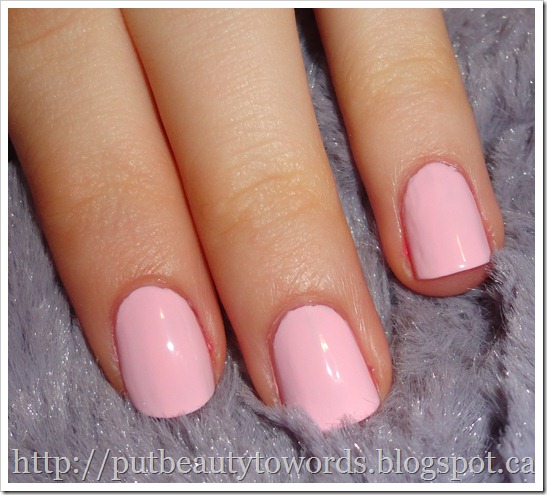
Butter London’s Teddy Girl is a creamy baby pink polish. It is similar to Fiji by Essie but it has subtle hints of lavender, whereas Fiji is more of a true pink. Butter London describes Teddy Girl as a pale retro bubblegum pink. I think that this is accurate because bubblegum often has those slight purple tones mixed in with the pink base.

This polish gives the nails a very clean, polished look, which is why I knew that I needed this shade as soon as I found out about it. It’s perfect to wear year round and can function as an every day, work-appropriate shade, or an understated shade to complement a formal dress.

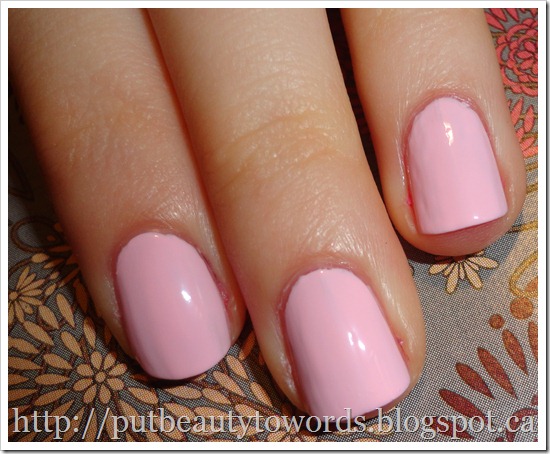
As you can see from the photos in this post, it is a pigmented cream-finish polish that gives a pop of colour despite its light shade.

I found the application to be a bit streaky after two coats so I needed a third coat to even everything out. Compared to other Butter London polishes that I have tried, Teddy Girl did not last as long. After about three days I began to see a bit of tip wear.

Something else that I noticed was that it took quite a while to dry. I applied it at 4:00 PM and it was still a bit sticky at midnight (I was able to make marks in it with my nails). By morning, it had dried completely and any marks had faded.

Despite these issues, I will continue to get a lot of use out of this polish because the shade is beautiful and works well with my pale skin. I always get compliments when I wear Teddy Girl.

Wednesday, February 20, 2013

February Topbox (Benefit Cosmetics)


In December, Topbox contacted its members to let them know that the Privé Box will be introduced in 2013 and it will showcase a selection of products from one featured brand. All Topbox members were granted priority access to this box and received their first Privé Box this January. The January box featured Clinique items, and, as a result, it was very disappointing.
The February box is quite the opposite. It features products from Benefit Cosmetics, one of my favourite beauty brands! All items are “deluxe” samples and feature a variety of products from skincare to makeup. This month’s box definitely renewed my faith in the Privé Box and the Topbox company in general. I’m hoping that the March box will be just as impressive.

Monday, February 18, 2013

February SeasonsBox


Today, I’m very excited to have the opportunity to review the February SeasonsBox.  Unlike the other “deluxe sample” boxes, SeasonsBox sends 3-5 luxurious full sized seasonal must-have products each moth.
Each month’s box is completely different and includes environmentally conscious products for your home, body, and spirit. It’s called a SeasonsBox because each box is tailored to one season or a seasonal holiday. Last month I reviewed the January Box which featured products from Thailand and the United States that evoke feelings of warmth and comfort to banish the winter blues.
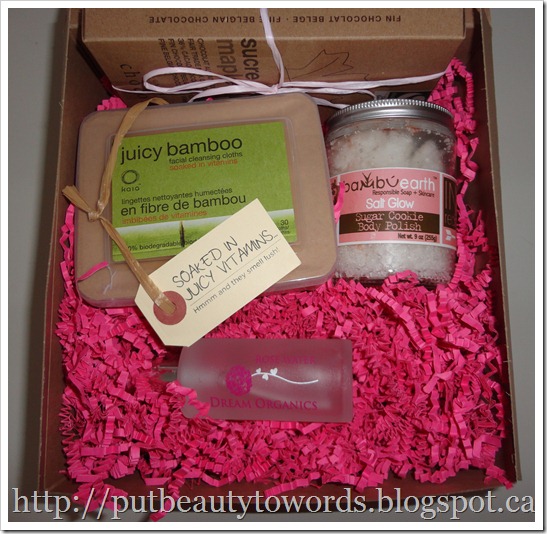
This month’s box is Valentine’s Day themed (can you tell from the pretty pink box filling?) and features healthy and eco-conscious products designed to nourish your body, invigorate your taste buds, and relax your mind. The items are to help us honour and love ourselves around this time of year. 
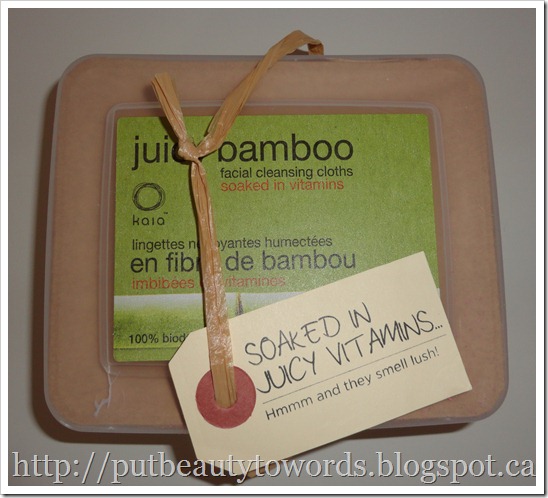
The first item is a box of bamboo cleansing cloths from Kaia Naturals. These cloths are perfect for sensitive skin. They cleanse, tone, and remove makeup with with vitamins, organic honey, sunflower and citrus oils. They are 100% biodegradable as well as sulfate, paraben, alcohol and synthetic fragrance free.
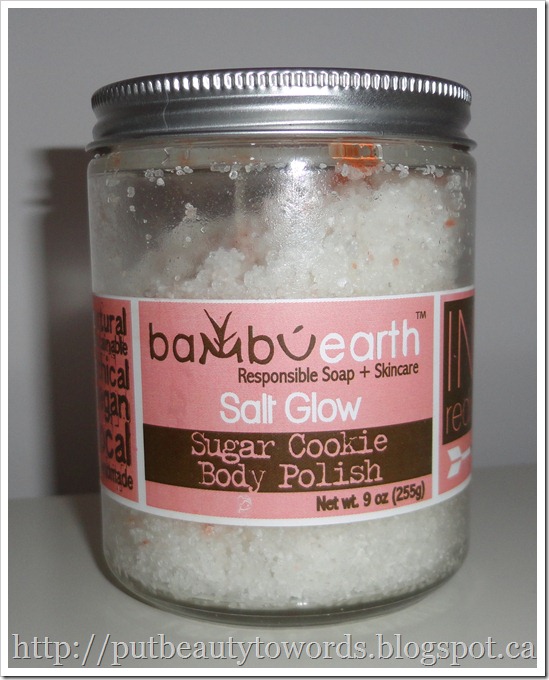
The next items is something that I will get a lot of use out of as I love products that exfoliate the skin. Exfoliating promotes cell turnover and makes the skin look more youthful, so I try to exfoliate the skin on my body at least three times per week. This Bambu Earth Sugar Cookie Body Glow is definitely a product that I want to be using on a weekly basis. It has a delicious scent that I like to describe as vanilla cherry almond. It contains natural ingredients such as mineral rich dead sea salt and coconut oil, and it’s free of synthetic fragrances.
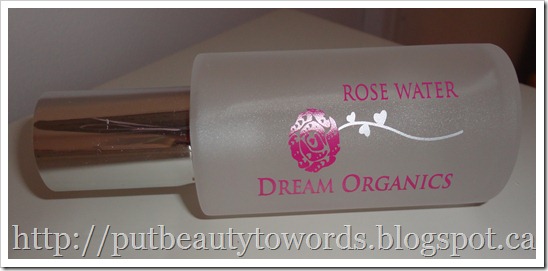
The next item, Dream Organics Rose Water, is also meant to beautify the skin. Each rose water is crafted from the distillation of premium organic Bulgarian rose petals, infused with a rare organic rose essential oil. I’ve been spritzing this on each morning before I apply my moisturizer. It has a light floral scent that is very pleasant and calming. It helps control any redness that I have on my skin around this time of year.
The last item is perfect for a February sweet tooth. Galerie Au Chocolat Bars uses real Belgium chocolates. The chocolate is crafted from natural and certified fair trade ingredients. The flavour that I received is Maple Crunch. It’s truly delicious and a decadent alternative to the standard Valentine’s Day candy that I have been snacking on throughout the month. 
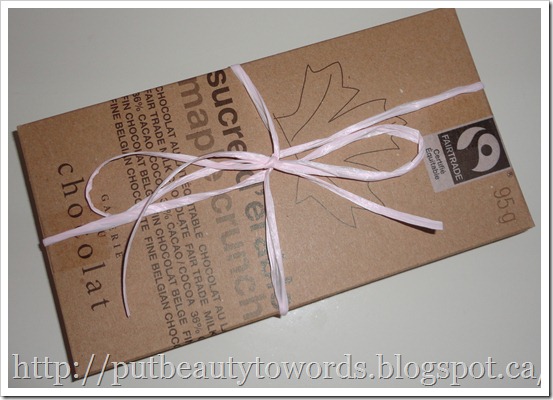

Overall, I continue to be impressed by SeasonsBox. The full sized products are all items that I will use and love, which makes this subscription service more than worth the price.
Subscription rates begin at $29.95 which seems like a lot but, as you can see from the February items, you get what you pay for. I can’t wait to see what SeasonsBox has in store for March!
Did you receive a SeasonsBox this month? What are your thoughts on it?


Tuesday, February 12, 2013

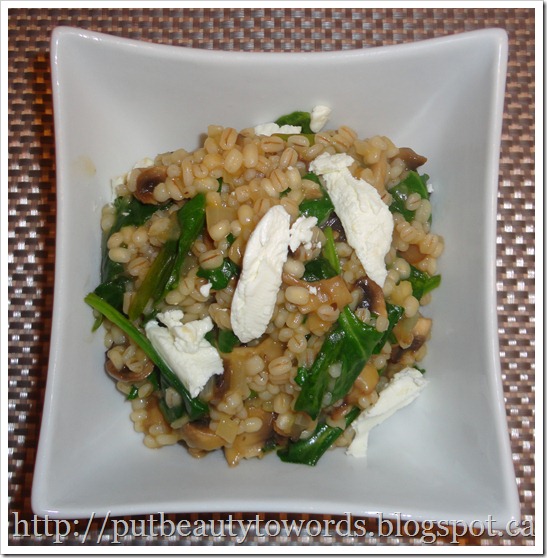
Barley Risotto with Mushrooms, Spinach, & Goat Cheese


I love cooking with barley in the winter! It has a great texture and it’s a healthy alternative to white rice. This specific recipe is very easy to make, and it works well as a side dish or a complete meal since it contains a grain, a vegetable and a protein.

Recipe

Ingredients:
4.5 cups reduced sodium chicken stock
1 1/4 cups pearl barley, rinsed
1 small yellow onion, finely chopped
2 garlic cloves, minced
20 white button mushrooms, sliced
3 handfuls baby spinach, rinsed
3 tbsp. white wine vinegar
2 tsp. olive oil
2 tsp. butter
goat cheese for garnish

Directions:
1. In a medium saucepan, bring chicken stock to boil. Remove from heat, cover and set aside.
2. In a large saucepan, melt the butter over low heat. Add onion and garlic and sauté until the onion becomes translucent, about 5 minutes.
3. Add barley and white wine vinegar. Stir to coat. 
4. Add two cups of warm chicken stock and bring mixture to boil. Simmer until most of the stock is absorbed, stirring frequently. Add remaining stock 1/2 cup at a time, allowing stock to be absorbed before adding more. Stir frequently. Simmer until barley is tender, about 40 minutes.
5. In the meantime, heat oil in a medium-sized pan over high heat. Add mushrooms and sauté until they begin to brown. Reduce heat, cover and cook until mushrooms are tender, stirring occasionally. Remove from heat and set aside.
6. Once barley mixture is ready, add mushrooms and spinach to the mixture, stirring well to combine.
7. Spoon risotto into bowls and add goat cheese on top.
I hope that you enjoy this recipe! How do you like to make risotto?

Saturday, February 9, 2013

Five Valentine’s Day Nail Looks

This is a collective post, featuring five of my Valentine’s Day nail looks. I have pictures of each look below and also a video tutorial for each in case you would like to see which products or techniques I used to create the looks.

Happy Valentine’s Day!

1. Romantic Valentine’s Day Nail Look (see full post HERE)

Romantic Valentine’s Day Nail Tutorial

2. Pretty & Simple Valentine’s Day Nail Look (see full post HERE)

Pretty and Simple Valentine’s Day Nail Tutorial

3. Hearts and Polka Dots Valentine’s Day Nail Look (see full post HERE)
nails5
Valentine’s Day Nail Tutorial: Hearts & Polka Dots

4. Classic Red and White Valentine’s Day Nail Look (see full post HERE)

Valentine’s Day Nail Tutorial: Classic Red & White

5. Pink and Purple Valentine’s Day Nail Look (see full post HERE)

Valentine’s Day Nail Tutorial: Pink & Purple

Valentine’s Day Nail Look: Purple & Pink

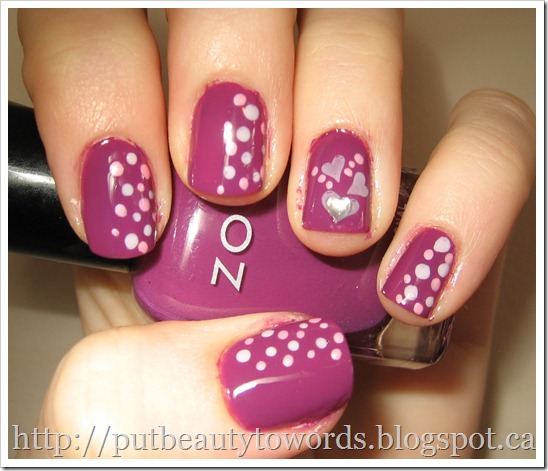
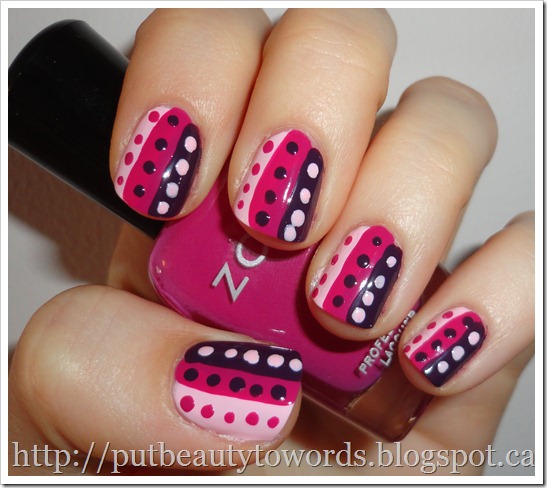
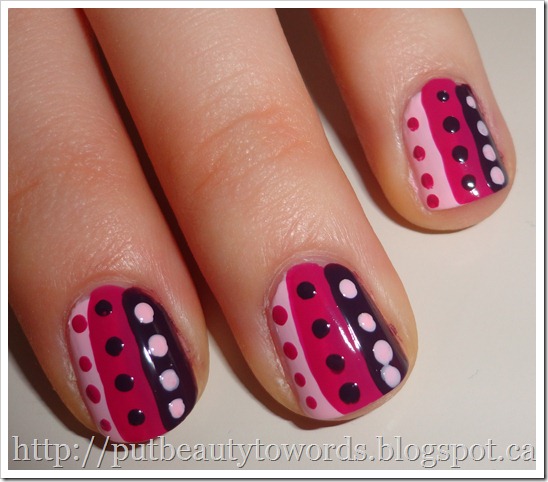
When I create festive nail looks, I often try to come up with designs that honour the holiday, but can also be worn long after. For this Valentine’s Day nail look, I stayed away from traditional hearts, and used dots in shades of pink and purple.

To see how I achieved this look, and which products I used, check out my video tutorial below. There are also more photos of the design below.

Happy Valentine’s Day!


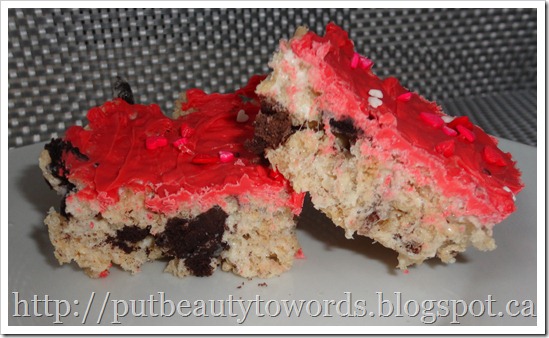
Valentine’s Day Cookies & Cream Rice Krispie Squares


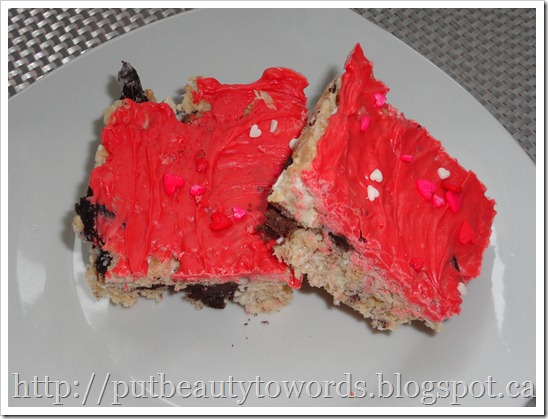
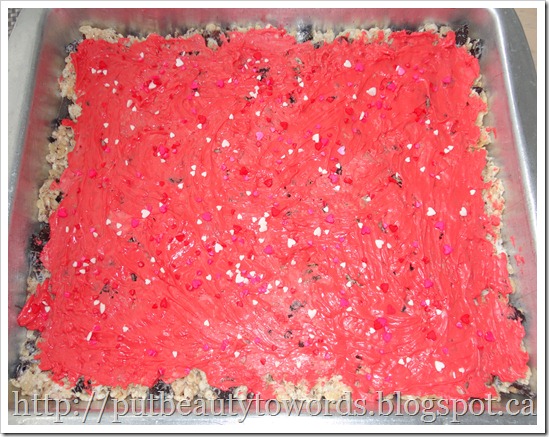
With Valentine’s Day less than a week away, I wanted to create a very festive (yet very quick and easy) dessert. The result:  pink white chocolate coated, oreo filled, gooey marshmallowey Rice Krispie squares.

This dessert is a delicious twist on the regular Rice Krispie squares recipe, and it takes less than 30 minutes to make.

Recipe

Ingredients:
1/4 cup butter
6 cups Rice Krispies cereal
20 Oreo cookies
6 cups mini marshmallows
3/4 cup red chocolate wafers
2 tbsp heart-shaped sprinkles

Directions:
1. Spray a 9x13 inch pan with cooking spray.
2. Chop or break Oreos into small pieces. Pour the cookie pieces into a large bowl and add the Rice Krispies cereal. Stir to combine.
3. Melt the butter in a saucepan over medium heat. Add marshmallows.
4. Once marshmallows are melted, remove from heat and add in the cookie/cereal mixture. Mix well.
5. Press mixture into the 9x3 inch prepared pan.
6. Melt the red chocolate wafers in the microwave on low heat, stirring every 15 seconds until smooth.
7. Spread the melted chocolate over the Rice Krispie squares. Before the chocolate cools, pour the heart-shaped sprinkles on top.

Saturday, February 2, 2013

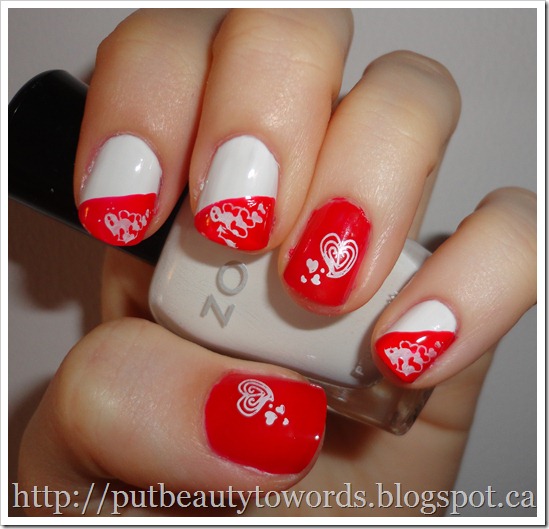
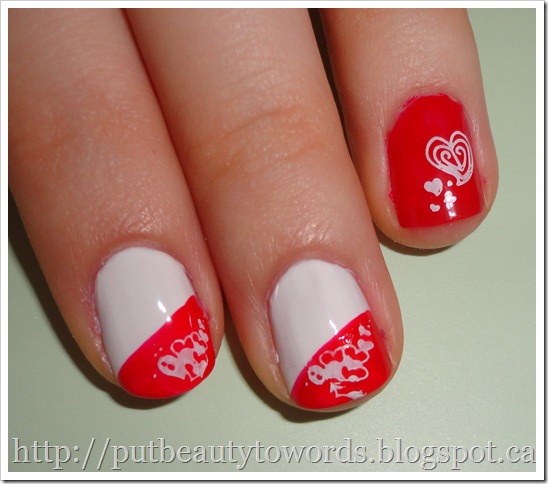
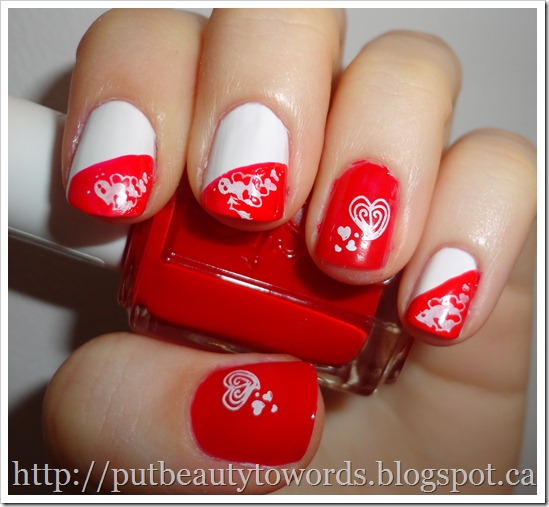
Valentine’s Day Nail Look: Classic Red & White


This is the first of my 2013 Valentine’s Day Nail designs. I wanted to begin with something quick and easy using classic shades. I have more pictures of the look below and also a video tutorial that shows how I created the design and which products I used.
What will you be wearing on your nails this February 14?
*Note: to make it easier for you to find my nail art posts, I have combined them all on one page which you can access by clicking on the Nail Art tab on my blog’s menu bar.
Valentine’s Day Nail Tutorial: Classic Red & White